Before you begin
- You have a valid
connectTokenfrom Step 1: Create a Connect Token (tokens expire after 3 hours) - You have decided how to render the widget: web iframe, mobile WebView, or new tab
- Your front-end is set up to listen for
window.messageevents (or the platform equivalent) so it can react to widget events
Overview
The Meld Connect Widget contains two components:- Front-end component — used by the customer to select the financial institution.
- Back-end component — used by your server to access the customer’s financial data via the Meld API.
Launch the Meld Connect Widget
Use the connect token to build the URL and render the widget. Below is sample code: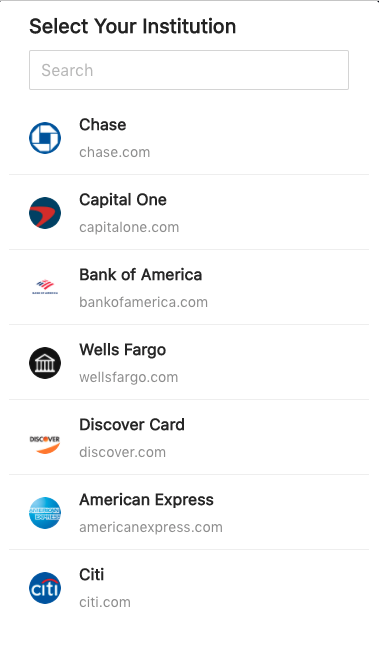 See Widget Flow Examples for examples of the widget flow per provider.
Launching in test modeIf you load the widget URL in your browser without an iframe, you may see an endless loading spinner at the end of making a connection. This is only seen in this test mode. When you actually implement the widget — launched in an iframe and closed once the connection completes — there is no spinner.
Listening for emitted events
The widget emits several events, including errors, that you can listen for to trigger actions in your application. See Widget Emitted Events and Errors for the full list and code samples per platform.Set up webhooks and notifications
You can receive webhooks whenever there are changes in financial account and transaction data. To configure your webhook profiles, see the Webhook Quickstart. Example events include:BANK_LINKING_CONNECTION_COMPLETEDBANK_LINKING_CONNECTION_DELETEDBANK_LINKING_CUSTOMER_ACTION_REQUIREDBANK_LINKING_ACCOUNTS_UPDATINGBANK_LINKING_ACCOUNTS_UPDATEDBANK_LINKING_ACCOUNTS_REMOVED
Mobile Optimization
OverviewIn order to optimize your users’ mobile experience, if you are rendering the Meld Connect Widget inside of a modal window, you will need to apply a few styles to that modal window to ensure that the Connect Widget has the entire screen to render. Example
Detecting whether your site is on a mobile device, and styling the modal, will vary based on which frontend framework(s) you are using. For our example, we are using React, and Ant Design along with Styled Components. To detect whether the page is being viewed on a mobile device, we use react-device-detect:
Resources