
Step 3: Select an Institution
Once you launch the widget, the next step is for the user to pick their institution (aka bank).
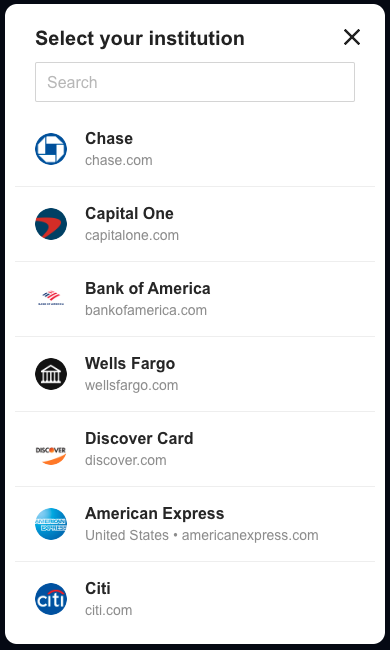
The top institutions are shown by default, and the user can search for any institution they wish. Once they find the institution they wish to connect, they simply click on it to proceed forward.
The list of institutions shown in the widget is filtered based both regions and products passed in Step 1. Only institutions that are in the regions requested and that support ALL the products requested are shown. If you are looking for an institution that isn't showing, try removing the regions param and only asking for BALANCES and TRANSACTIONS as products when generating a connect token.
Differences in how Service Providers display Financial InstitutionsService Providers display institutions based on the products you select.
- Plaid will only display financial institutions compatible with all the products provided in the /connect/start endpoint.
- Finicity will display accounts belonging to a connection regardless of products selected. However, individual products won’t load for the accounts that don’t have them.
Some institutions are broken down by country.
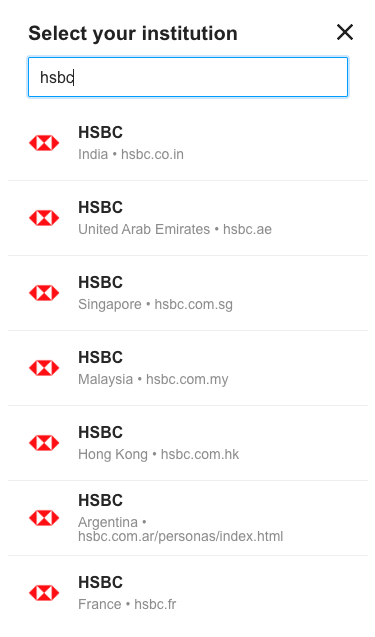
To avoid confusing your users, if you know which region (country) they bank in, pass in that information when generating a connect token. If not, it is up to the user to ensure they pick the right institution in the picker.
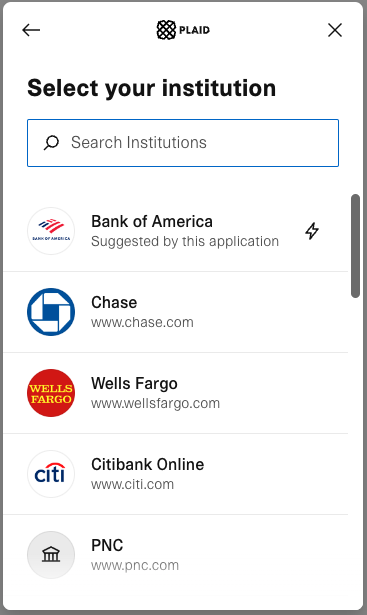
Note: Plaid forces the user to reselect their institution in Plaid's own picker. This restriction only applied to Plaid, for every other provider the user would go to the login screen after selecting their institution. Meld takes the institution the user chose in the first picker and moves it to the top of the list in the Plaid picker to make the process as seamless as possible.
Updated 5 months ago